Monday 28 November 2016

Sporty Christmas Angel - by Claudia

Servus! I am so glad you're stopping by today as I am sharing one of my first Christmas makes for this year! I hope you had a lovely first Sunday in advent, lighting the first candle, enjoying some lebkuchen and/or punch and listening to an advent story or song!

I am sure some (most?) of you have already started decorating the house and wakening the Christmas angels from their long and cosy sleep in some stored away boxes. carefully wrapped up in tissue paper! Mine still are waiting to be put up, but I created a new one today - using one of the lovely Calico Craft Parts Art Doll Kits:


Please, welcome Agatha! She obviously is a very sporty Christmas angel (doesn't she look just terrific in her sports dress?) and creating her was a lot of fun!

Calico Craft Parts used:

- Standard Jointed Art Doll Kit - Style 1
- Rounded Rectangle Greyboard Mixed Media Board - Style 18
- Sheet of Mini MDF Wood Wings - Style 3
- Curled Vine Fancy Flourish MDF Wood Shape - Style 1
- Curled Vine Fancy Flourish MDF Wood Shape - Style 2
- Stars - Mini Greyboard Shapes
- Sheet of Mini MDF Wood Crowns - Style 2


My main goal was to create texture in as many ways as possible and still have that bit of bling. The angel's body parts were monoprinted instead of painted - this adds lovely texture and depth!

To do so I first gave all the parts a coat of loosely brushed on white DecoArt Gesso and let that dry.


Then I took an index card and painted on some DecoArt Americana Bahama Blue and pressed the parts face down into the paint.


This is how my parts looked after the first layer:


I repeated the monoprinting step using DecoArt Teal Dazzling Metallic ...


...and afterwards Light Buttermilk Americana paint. 


I punched two holes into the mixed media board and then gave it a coat of white Gesso. 
Once that was dry I applied DecoArt media white Crackle Paint through a snowflakes stencil 
and put it close to our central heating to speed up the drying process. 


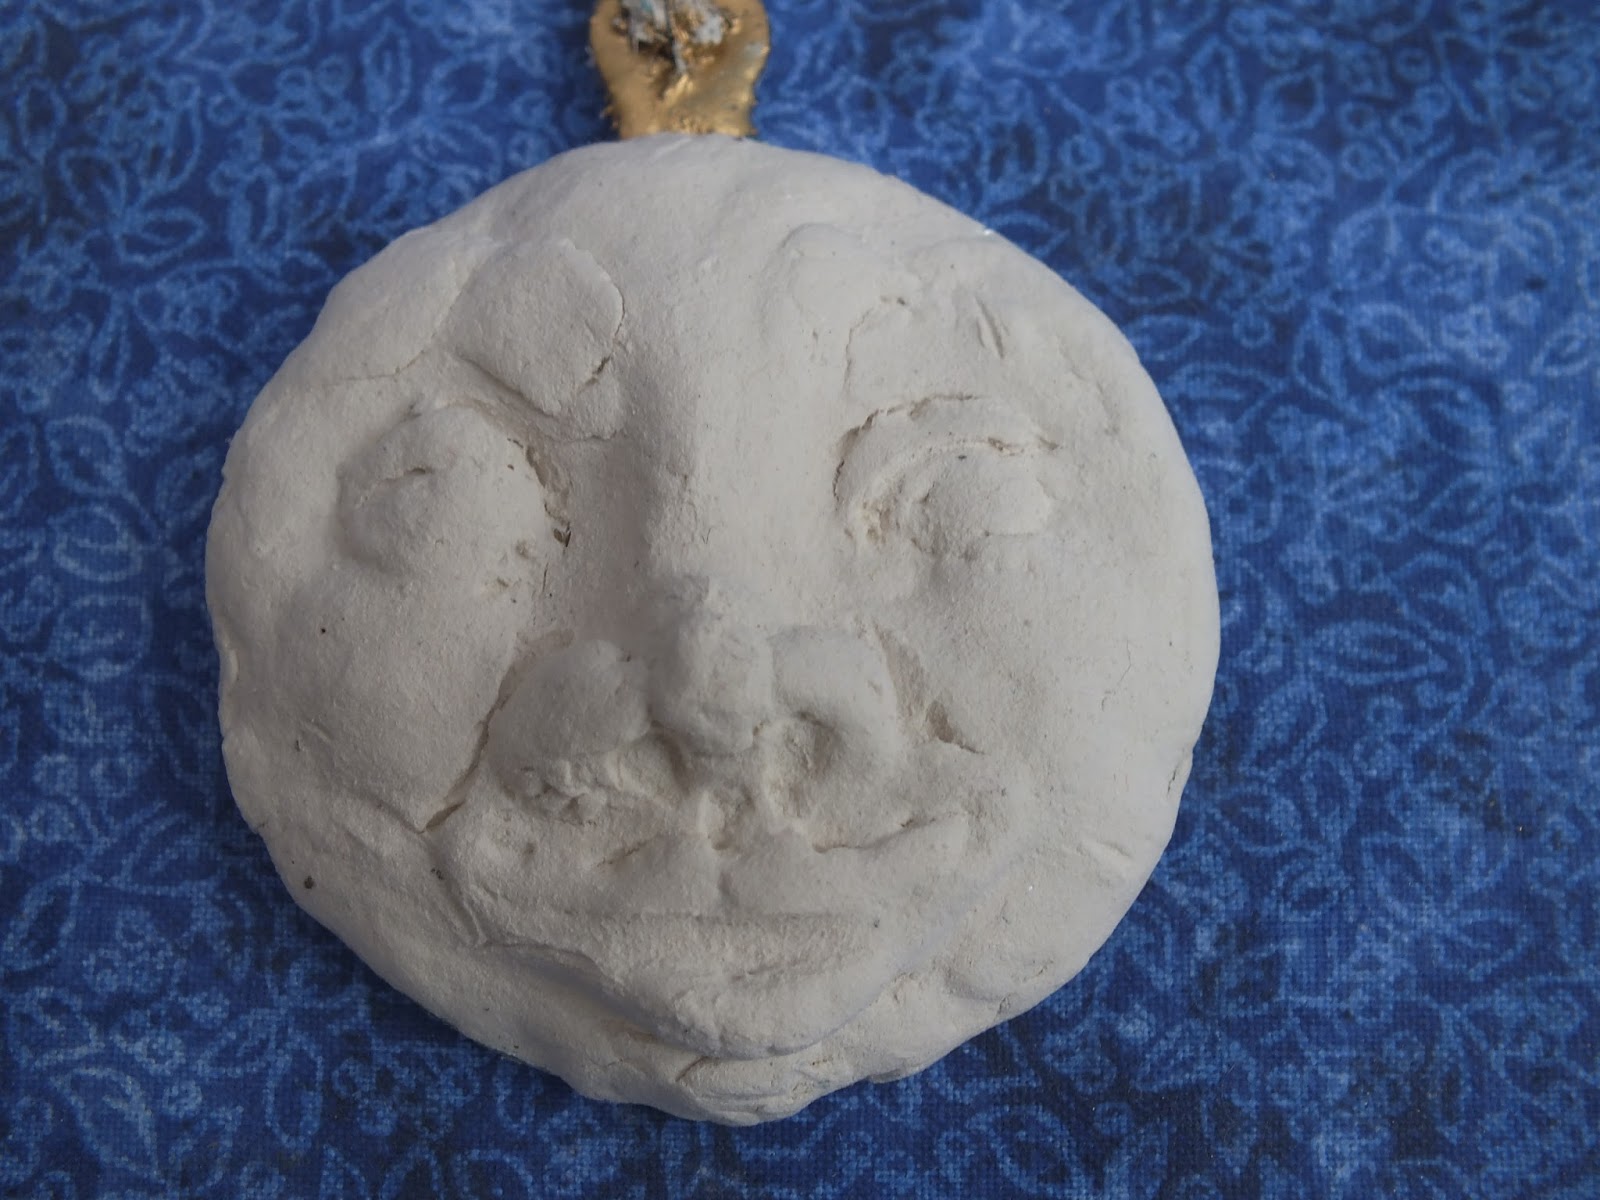
In the meantime I created Agatha's face. I used snipped off bits from some Calico Craft Parts flourishes for her hair and made sure I painted the eyes, nose and mouth so they would be well visible once the "hair" was added. 


Agatha's hair was painted using DecoArt Venetian Gold Dazzling Metallic paint. 
I also used it on the stars and to add some dots to her dress. 


While I had done Agatha's head my background panel had dried and the cracks had turned out beautifully! I applied a thin wash of DecoArt media Cobalt Turquoise Hue to highlight the cracks and tone down the white of the panel.


The wings were drybrushed using DecoArt Americana Light Buttermilk, Bahama Blue and the Venetian Gold Dazzling Metallic paint. 

Then I glued everything in place using matte Decou-Page. I added tiny half pearls to hide the joint holes. 


Agatha got an additional "layer of hair" that was glued directly to the panel - that helped make her head and hair less prominent and also visually fuse all the elements and layers. 


And there she was! 


I hope you like her as much as I do! 
Enjoy a wonderful advent season! 

Hugs and happy crafting!
Claudia
xxx


Thursday 24 November 2016

Alternative Crimbo Stag Head by Lesley

Bonjour people. Lesley here with a little assemblage for you..........

I was eager to use one of the new Victorian round box kits. Only i didn't use it as a box with a lid.......more of a freestanding piece!


These are easy peasy to put together......but there are instructions over at the shop should you need them.

I started by painting the pieces black and a dark granite colour. The panels were stamped and then embossed with an enamel powder.......liking the effect it gives. I then glued the panels into the base and fitted the lid on ( a little tricky!)


The stag head was from another project. He was originally covered in silver glitter! One coat of gesso.....and i then painted him in a pearly paint.


I applied glue to the end of his antlers, and then dipped them into some german glass glitter.


He was then glued down on top of an old wooden yo-yo. I painted it black, then filled the edges in with a gloss glaze, adding micro beads to it whilst it was still wet.


I added some burgundy twine type stuff around the middle of the yo-yo.

The box obviously had a hole in the top where the lid was supposed to go. I used a large bottle top to cover the hole. This was painted black with a little red wax around the edge.

The yo-yo was glued to the middle, and i repeated the gloss and micro beads around it. The bottle top was glued to the box.


Looking at the stag now.......i probably should have painted his eyes in......he looks kinda blind!


Thanks so much for reading.

L.x

Monday 21 November 2016

Winter Moonlight - 3 Calico Baubles by Julie Ann

Hello and Welcome to the Calico Craft Parts Blog, where this week I've been thoroughly enjoying myself creating seasonal decorations with Calico Craft Parts! Every year I re-discover how magically the Winter transforms our world, and how much fun it is to create pieces inspired by glittering woods; moonlit frosty paths and snowflakes fluttering into the twilight. 


I used 3 plain, Calico baubles to play with different materials and techniques while exploring the theme of 'Winter Moonlight'. These baubles are the perfect craft blank - inexpensive with a wealth of possibilities. I think they lend themselves well to the 'shabby chic' look, so I used rustic twine for suspending them from garden twigs for this winter arrangement.


This was a great opportunity for me to get out my wood-burning tool again. I always associate wood-burning with winter projects: perhaps it's because I love to sketch bare trees on a wooden substrate. I began by a pencil drawing on the bauble, which I could erase and re-draw until I was satisfied with it, before sketching over it with my wood-burning tool.


A friend gifted me my first wood-burner, but I have also bought a back-up one and both have controls so you can ensure that the tool doesn't get too hot and scorch the wood too much. I don't gesso before wood-burning, but you can see here how I gessoed the other two baubles and added some gold UTEE to the one on the left.


With this project I worked on the 3 baubles simultaneously, having ideas as I went along. I wanted to use this delightful little owl, perched on her branch in the light of a winter moon, so I gessoed her and pretty soon the ideas came! Calico Craft Parts always trigger my imagination!


Frost fronds on the window pane; white lace curtains illumined by a single candle and moonbeams glittering across a frosty path - all suggest the beauty of winter to me so I took a scrap of old lace, covered it generously with heavy gel medium and attached it to the back of the tiny owl craft part.


Meanwhile my mind was racing on to the next bauble! I wanted to set myself the challenge of creating the moon's face in Paper Clay. I once created 2 little Paper Clay faces for art dolls, but I'm not very experienced in this kind of sculpting, so I was excited to see what effects I might be able to create. I glued a circle of crinkled and flattened aluminium foil to the bauble so that the clay would have a 'tooth' to adhere to and played with positioning some little wings.


Now, after working the clay in my hands for a while, it was time to build up the Moon's face, adding little clumps, moulding and moistening and shaping with very simple tools like the end of a paintbrush! When I put Mr Moon aside to dry he looked decidedly craggy, but I tried to embrace imperfection and to tell myself that the moon has what you might call a 'rugged' complexion anyway!


Because the baubles would be dangling, it would be important to decorate the backs as well, so using acrylic paint and a cocktail stick dipped in Gesso, I set about decorating the reverse sides.


It takes around 24 hours for the Paper Clay to fully dry out and harden. I was eager to see how much painting my craggy-faced moon might improve him and bring him to life, so I worked on him next. I gave the clay a thin coat of Gesso and then painted with acrylics, added detail with pigment pens and a little water-colour and accented with some gilder's paste.


 I sprayed with a fixative and just sprinkled some distress glitter over the surface before it dried. There's a tiny flower from some broken jewellery too, just touched with Gesso. It's difficult to capture the effect of this in a photo, but it does look great with fairy lights or candle-glow.


And here is the project as I add the wings to Mr Moon's back! I used a double layer of wings, one pair painted and glittery, the others left natural wood.


For the wood-burned bauble, I thinned down acrylic paint with acrylic glazing liquid so that I could work with subtle, translucent layers over the burned wood image. Gesso, a tiny Calico wren from the garden birds' sheet, a hint of glitter and a piece of broken jewellery completed the bare tree on a winter's evening.


Once the moonlight owl was fixed to her snowy background and I'd added a tiny button, I was pleased with the shabby chic look of this decoration. I added some spectacles to give her a wise look!


I do hope you've been inspired to play with some of your favourite techniques on plain, Calico baubles. I wish you a cosy and creative week and thank you for stopping by today.


Calico Craft Parts Used in this Project
Plain, round MDF Bauble, style 1
Sheet of MDF Garden Birds
Owl and the Moon Scene style 2, smallest size
Sheet of MDF wood wings, style 1

Monday 14 November 2016

Autumn Love and Farewell - by Claudia

Servus and welcome back to "my" Calico Craft Parts Monday feature!
Claudia here to bring to you a kind of "farewell" project for one of my favourite seasons of the year - which is autumn.

Sadly over here there was a rather wet and cold "autumn" this year so not much of the usual beautiful and clear autumnal light and colours for me - so I created a piece that is meant to capture that at least.


Calico Craft Parts used:

- MDF Printers Tray Kit - Style 2
- Sitting Fox MDF Wood Shape - Style 9
- Flying Barn Owl MDF Wood Shape - Style 1
- Mushrooms Funghi MDF Wood Shape - Style 9
- Sheet of Mini MDF Wood Birds - Crows&Ravens
- Sheet of Mini MDF Acorns and Oak Leaves
- Sheet of Mini MDF Wood Insects - Style 3
- Spiders Web Corner MDF Wood Shape - Style 1


I started with cutting apart the panels for the inner compartments to get more random looking boxes to fill.

before

after
with all the shapes I wanted to use for my shadow box


I glued the printers tray's pieces together using matte DecoArt Decou-page. Once that had dried I started painting my tray with a coat of DecoArt Americana Charcoal Grey as a base. Afterwards I dry brushed on some strokes of DecoArt Traditions Phtalo Green-Blue and Medium White.


To tone it down (as the colours looked a bit too cold) I gave it a wash of DecoArt media English Red Oxide as well.


Then I started to "rust" my animal shapes:

I mixed some DecoArt Americana Dark Chocolate with some bird sand and dabbed the mixture on as a base coat using a piece of a kitchen sponge. Once that was dry I dabbed on some DecoArt Americana Persimmon and for a finish a bit of Primary Yellow in some spots.

This simple three steps treatment creates some gorgeous textured rust on your MDF pieces!


I did the same with the printers tray frame's fronts:


Some alphabet wood blocks were inked around the edges and then glued in place alongside all the other pieces using matte Decou-Page.


Et voilá! 


Winter is already at our doorsteps - so I hope you enjoyed this attempt of capturing a bit of autumnal warmth as much as I did! ;)


Thanks for stopping by and happy shopping with 


Hugs and happy crafting!
Claudia 
xxx